3. Getting Started
3.1. “Hello World”: A basic test of the server
First, spin up a slurk server. Either use the server from Prerequisites or see Deployment of the system for more information on this.
Next, the admin token is needed. If you are running slurk from docker, run:
$ export SLURK_TOKEN=$(scripts/read_admin_token.sh)
$ echo $SLURK_TOKEN
01234567-89ab-cdef-0123-456789abcdef
Otherwise, assign it:
$ export SLURK_TOKEN=01234567-89ab-cdef-0123-456789abcdef
The token is exported so subsequent scripts can read the token. All scripts are using the REST API for slurk internally.
Create a room as the landing page for our new token. In order to create a room, we need a layout for the room. We use a default layout provided by slurk:
$ scripts/create_layout.sh examples/simple_layout.json
This will return the layout with all its settings, only the id is needed:
$ LAYOUT_ID=$(scripts/create_layout.sh examples/simple_layout.json | jq .id)
$ echo $LAYOUT_ID
2
With the layout provided, we can create the actual room:
$ ROOM_ID=$(scripts/create_room.sh $LAYOUT_ID | jq .id)
$ echo $ROOM_ID
1
To log into the room, a token has to be generated:
$ TOKEN=$(scripts/create_room_token.sh $ROOM_ID examples/message_permissions.json | jq -r .id)
$ echo $TOKEN
fedcba98-7654-3210-fedc-ba9876543210
Now visit your server (e.g. http://localhost:5000) and enter whatever name you like and the token you just generated, and click “enter chatroom”.
This should transport you to the chat interface, where you then can happily type messages which no one will see (apart from you, that is).

Fig. 3.1 A single user talking to no one in particular
This has confirmed that the server is working correctly, but so far this hasn’t really been very exciting. So we move on.
3.2. “Hello World” – “Hello Other Browser”: Testing with two browsers
Run the steps from the previous section (starting the server, creating a token and logging in), and then create an additional token by running the create_token script with the same parameters again. From a different web browser or in a private tab, log in with that token. You should now see both identities in the respective chat windows, and you should be able to talk with your two selves across these browsers. Hurray!
(If your machine is set up in the right way [that is, the machine that is localhost is accessible from your network], this might work across machines, and so you can have a chat with an actual distinct person.)
This has demonstrated the very basic capabilities – providing a chat environment – but so far there has been no use made of the display window. Let’s change that by inviting a bot into our chat room.
3.3. Chatting with a bot
Without additional environment variables, the server uses an in-memory database and resets on every restart of the server. If you restarted the server, make sure you have created the layout and the room.
For the bot, more permissions are needed. Create a file where the permissions are set:
$ cat bot-permissions.json
{
    "api": true,
    "send_message": true,
    "send_image": true,
    "send_privately": true
 }
Now create the token and a user for the bot:
$ BOT_TOKEN=$(scripts/create_room_token.sh $ROOM_ID bot-permissions.json | jq -r .id)
$ echo $BOT_TOKEN
45670123-cdef-89ab-4567-012389abcdef
$ BOT_USER=$(scripts/create_user.sh 'Echo Bot' $BOT_TOKEN | jq -r .id)
$ echo $BOT_USER
2
There are several bots available at GitHub, in our example the echo-bot is used. Start the bot with the provided token
$ docker run -e SLURK_TOKEN=$BOT_TOKEN -e SLURK_USER=$BOT_USER -e SLURK_PORT=5000 --net=host slurk/echo-bot
After the bot has logged in, you can chat with yourself.
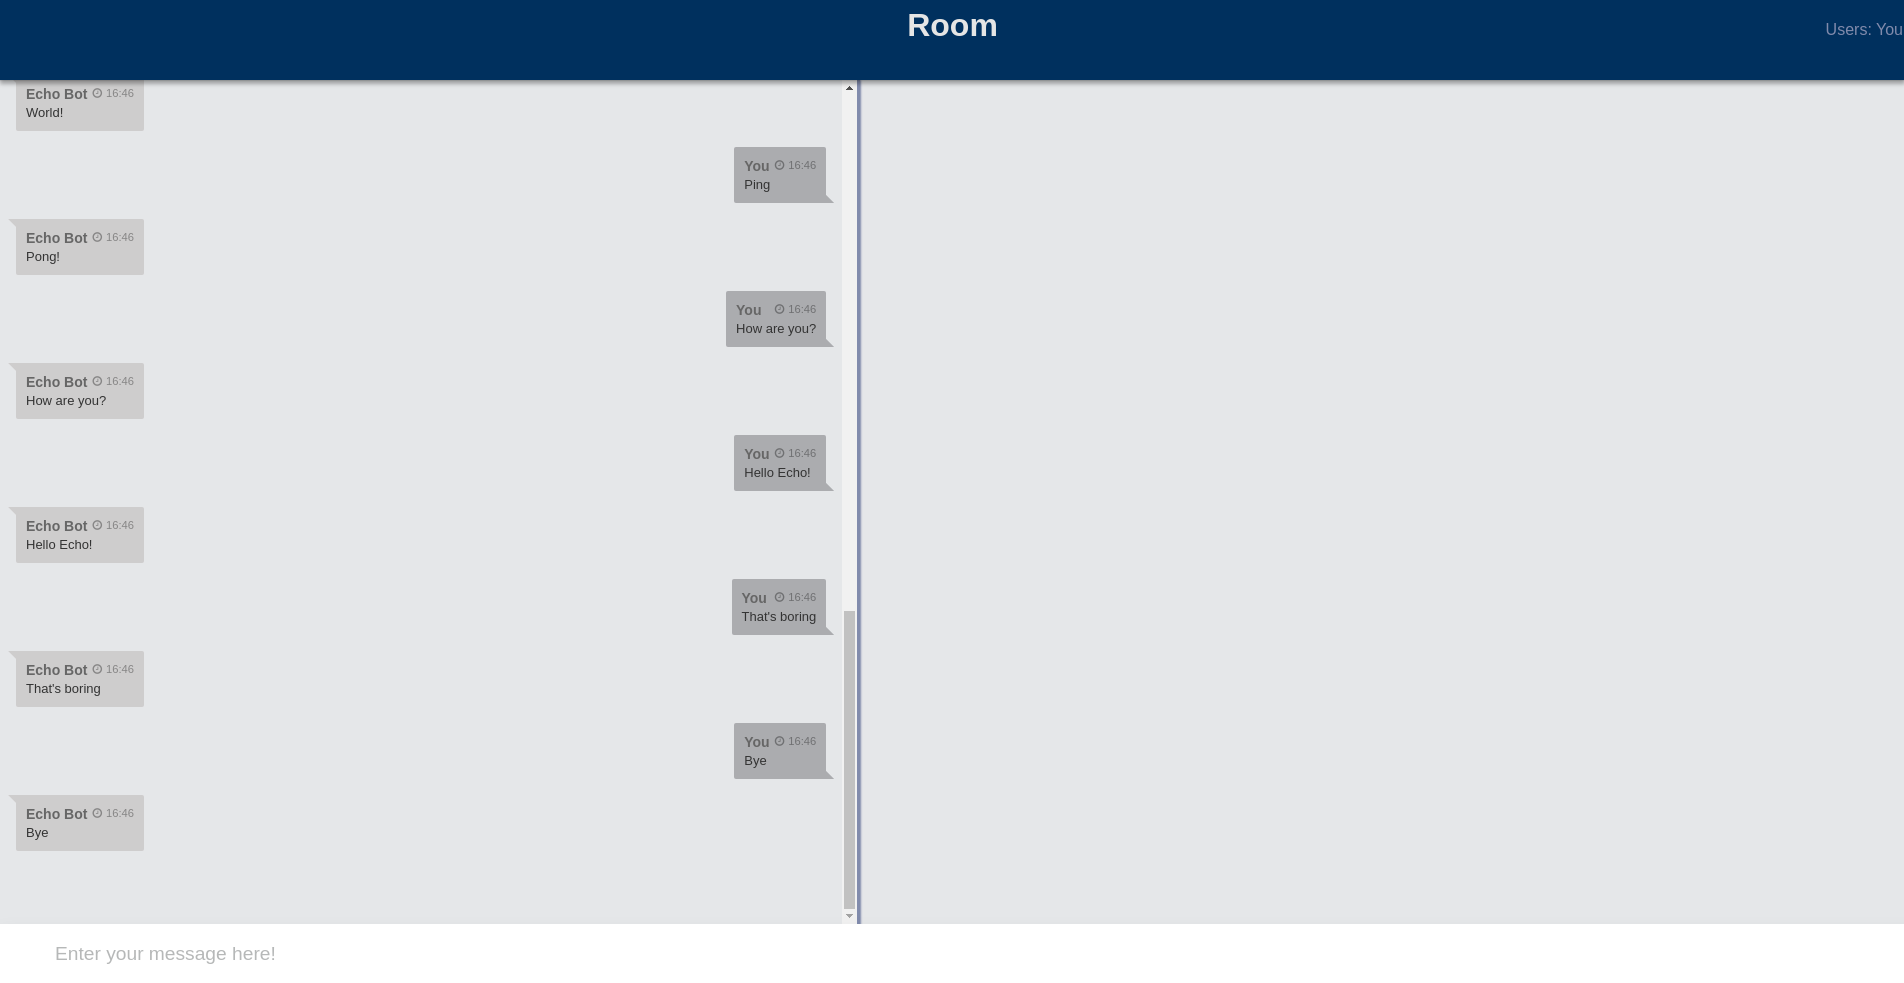
Fig. 3.2 Chatting with myself
3.4. Examining the log files
The point of all this, however, is not just to make interaction possible, it is to record these interactions to be able to later study them or train models on them.
In order to read the logs for our room, run:
$ scripts/get_logs.sh $ROOM_ID | jq
The returned data contains, as a JSON list, most of the events that the server handled, including all the messages that were sent. This should contain the information that you need for your particular purposes.
This concludes the quick start. We now can be reasonably confident that the setup is working on your machine; you also got a first introduction to the basic concepts. But what we have seen so far would only allow us to run a single room at a time. That may already be all you want if you conduct experiments locally with participants that you bring into the lab. If you want to make use of crowdsourcing, though, you will want to be able to automatically pair up participants and create task rooms for each pair. This will be explained in the next section.